While you are using PDF to Word Converter (PDF to Word +), you can mark image areas. Selected areas will be captured and preserved as an image in the output Word document.
Why need this function?
This function is designed for converting PDF with logo, charts, etc. Usually we don’t need to make a change to those type of data.
For some particular documents, you can see an image in the content, but it actually contains thousands of graphic elements. In this case, our app will output all of them in Word document. But if you mark this area as an image, our app will know that it should keep them as an image in the output file.
How to mark the image area before conversion?
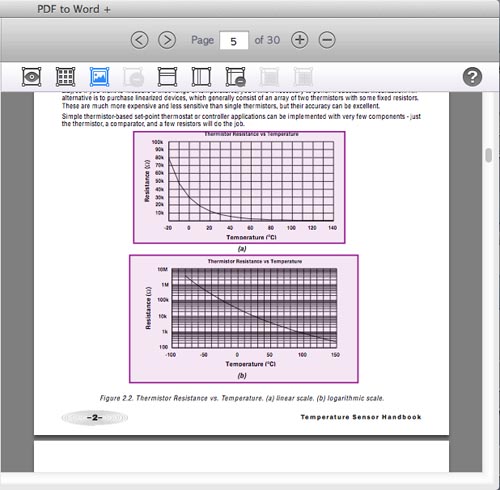
Simply click ‘Mark image area’ button in the built-in reader.
And then click and hold your mouse, drag to draw the area you want before starting conversion.
Result Compare:
You can see the difference.
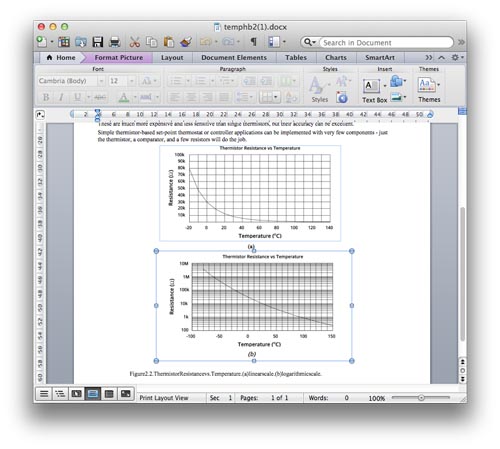
If you didn’t mark any image area before conversion, all the graphic elements will be preserved individually. Here is the example, you can select every single line in the chart, and the look of the chart will be changed. The output document may be larger.
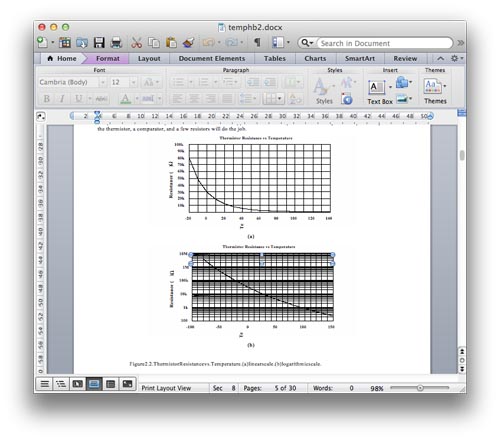
If you marked the image area before conversion, the whole chart will be saved as an image, so you can keep the original look in the output document. If you don’t need to modify the chart in the output document, it’s recommended to mark it as the image to keep the best result.